TestDisk and PhotoRec on Windows: A No-Nonsense Walkthrough for When Nothing Else Boots
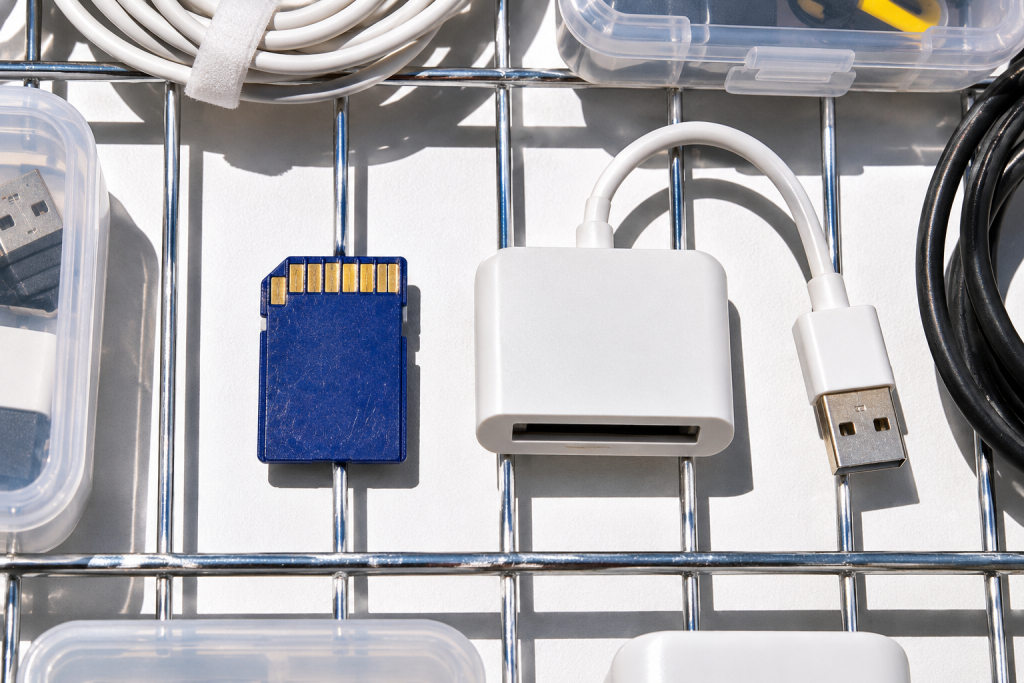
The laptop came in with a dead Windows install and a client’s photos on the drive. It wouldn’t boot past the logo, Safe Mode got nowhere, and the recovery USB I keep in my bag had gone missing. Normally I’d boot from a rescue drive, but the only machine available that morning had a single USB port occupied by the client’s external drive. So I did the thing I should have done first: I pulled the drive, cabled it into my own system as a secondary disk, and reached for TestDisk and PhotoRec.
They’re two tools, not one. Same developer, same project, different jobs. TestDisk fixes the partition table and bootsector so Windows can see the disk again. PhotoRec ignores the filesystem entirely and carves files out of raw sectors. Between them they’ve rescued more drives for me than any paid utility I’ve tried, and they cost nothing. Here’s how I actually use them on Windows.
What each tool does, in plain terms
Think of the partition table as the map of the drive. When that map gets corrupted (a botched resize, a power cut during a Windows update, a clone that went wrong), the data is still sitting there but the operating system can’t find it. TestDisk reads the boot sector, finds backup copies of the partition table, and lets you rewrite the map without touching your files.
PhotoRec is the last resort. If the filesystem is too damaged to reconstruct, or the files were deleted and the space reused, PhotoRec scans the raw sectors looking for known file signatures: headers and footers that mark where a JPEG, a DOCX, a CR2 raw photo, or a ZIP begins and ends. It doesn’t care about filenames or folder structure, which is the tradeoff. You get the files back, but with generic names and no folders to put them in.
That distinction matters when you’re deciding which one to run. Fix the partition and you get everything back where it was. Carve the sectors and you get files back, but you’ll spend a few hours renaming and re-sorting. Do the partition route first whenever it’s available.
Getting it onto Windows without a friendly PC
You download the Windows build straight from the project’s site and unpack it into a folder. No installer, no service, no registry keys. That’s a feature when your machine is in a bad state, because there’s nothing to uninstall later.
You need admin rights. Both tools touch the raw disk, so Windows will want confirmation. If you’re trying to recover the drive Windows is running on, you can’t do it from inside that Windows session. You either boot from a rescue environment or, as I did, pull the drive and connect it to a working machine through a USB adapter or SATA dock. The pull-the-drive route is the cleaner option because it stops Windows from writing anything new to the damaged disk.
One thing I’d say ahead of any of this: point PhotoRec’s output somewhere other than the drive you’re recovering. If you save recovered files back onto the same failing disk, you overwrite the sectors you’re trying to read. Use a different physical drive with as much free space as the source disk had in use.
The TestDisk sequence I run
Once it’s open, the flow is short but you have to follow it in order.
- Select the disk. TestDisk lists every physical disk and partition it can see. Get this wrong and you’re working on the wrong drive. Check the size against the sticker on the disk.
- Pick the partition table type. Modern Windows disks use Intel/PC. If you’re unsure, let TestDisk detect it, which it does by default.
- Choose Analyse, then Quick Search. This scans for existing partitions and then for lost ones. It takes a few minutes on a normal-size drive.
- Review what it finds. Here’s where I take a breath. TestDisk will show partitions it believes are on the disk, including the lost ones. It marks them by type and size. Cross-check against what you know was there. If the sizes match what you remember, you’re on the right track.
- Write the partitions. This is the step that changes the disk. You’re giving Windows a new map, not touching the data itself. Then quit and reboot, or reconnect the drive, and see if it mounts.
If Quick Search doesn’t produce the partition you lost, run Deeper Search. It scans the full length of the disk and is genuinely slow (hours on a large drive), but it finds partitions that Quick Search skips because their headers got damaged.
The part I’ve tripped over: after Write and reboot, Windows sometimes reports the drive as unformatted even though the partition is back. That doesn’t mean the data is gone. Run a chkdsk against it from another working system, or check disk management for the drive letter, before you conclude anything.
The PhotoRec pass, and what to expect
When TestDisk can’t help (deleted partitions gone for good, a filesystem so scrambled nothing reconstructs, or files that were removed from a drive that’s since been written to), PhotoRec is where I go.
You launch qphotorec_win.exe for the point-and-click version, or photorec_win.exe for the text one. I use the GUI because it’s less menu-diving. Select the source disk, select the destination (a different drive), pick file types (or leave it on all and accept a bigger, messier output), and go.
On a 1TB drive with mixed content, expect hours. The tool reads the whole surface, so a failing drive makes it slower and riskier. If the drive is actually failing (clicks, hangs, SMART warnings), image it first before running any recovery tool. I’ve learned that the hard way more than once.
The output is a folder tree of numbered folders full of files named f0001234.jpg, f0001235.docx and so on, grouped by extension. No original names. No folder structure. If you need them, your next job is matching the recovered files back to what you lost, and for a big photo set that means opening thumbnails one by one. There’s no way around it.
Where these tools fall short
TestDisk has a text interface that looks like it was designed in 1998 and will make anyone nervous the first time. The warnings are stark and the “Are you sure?” prompts feel like they’re daring you to break something. That’s fair. Every step that writes to the disk asks for explicit confirmation, and the tool does nothing to protect you from choosing the wrong disk.
PhotoRec’s file-type recovery is generous but not magic. Files carved out of a heavily reused portion of a disk come out truncated or corrupt. Large video files often come back fragmentary because their signatures span thousands of sectors and any overwritten middle breaks the file. If you’ve ever tried to recover a 4GB video that got deleted and then the disk kept running for a week, you know what I mean.
It also doesn’t recover filenames, which matters more than people realise until they’re staring at 12,000 unlabelled JPEGs.
I still keep a paid recovery tool nearby for the case where a client needs the simplest possible result and I have five minutes to get it. TestDisk and PhotoRec aren’t that. They’re the tools I reach for when nothing else boots, when the disk is a puzzle rather than a product. For the cost of a folder and a download, they’ve done the job more often than anything I’ve paid for.
And the laptop from that morning? The partition table had a corrupted backup copy but a healthy primary, and TestDisk rebuilt the map in about ten minutes. Windows booted, the client’s photos were intact, and I put the drive back with a note taped to the laptop lid explaining what happened and why it needs a backup drive.
If your data isn’t backed up yet, a disk imaging routine is the real fix. All of this is the recovery, and recovery is always slower than prevention.